

How to Fix Exposed Nails on a Roof
Are you worried about exposed nails on your roof? Are you unsure how to fix them or even where they came from? Don’t worry. Many homeowners find themselves in the same situation. While nail pops and other issues can come up unexpectedly, thankfully there are ways to repair any exposed nails on your roof quickly and effectively. By following the steps in this blog post, you’ll be able to save yourself time and money when it comes to fixing nails that have popped out of place. So here’s how to fix exposed nails on a roof easily.
Why Exposed Nails Are a Problem
First and foremost, it’s essential to understand why exposed nails on your roof can be a problem. When roofing materials are installed on your home, they’re secured by nails or screws that hold them in place. Over time, these fasteners can loosen or even pop out of the material entirely due to weather conditions such as wind, rain, or extreme temperatures. If left unattended, these exposed nails can cause significant damage to your roof and the overall structure of your home.
Tools and Materials Needed
Before you begin repairing the exposed nails on your roof, it is crucial to ensure that you have all the essential tools and materials at hand. These include a hammer, roofing cement, a caulk gun, roofing nails or screws (depending on the type used during installation), a putty knife, and safety equipment like gloves and goggles.
By having these items readily available, you can effectively address the issue and ensure the durability and longevity of your roof. So, before you embark on the task, gather your tools and materials to tackle the job with confidence and precision.
Safety Precautions
When working on a roof, safety should be your top priority. Exposed nails can be hazardous and cause injuries if not handled carefully. Therefore, it’s crucial to take proper precautions before starting any repairs.
Ensure that the weather conditions are suitable for working on a roof, with minimal wind or rain. Additionally, wear appropriate protective gear such as gloves and goggles to protect yourself from any potential hazards. If possible, have someone else monitor you while you work to ensure your safety.
Locating and Identifying Exposed Nails
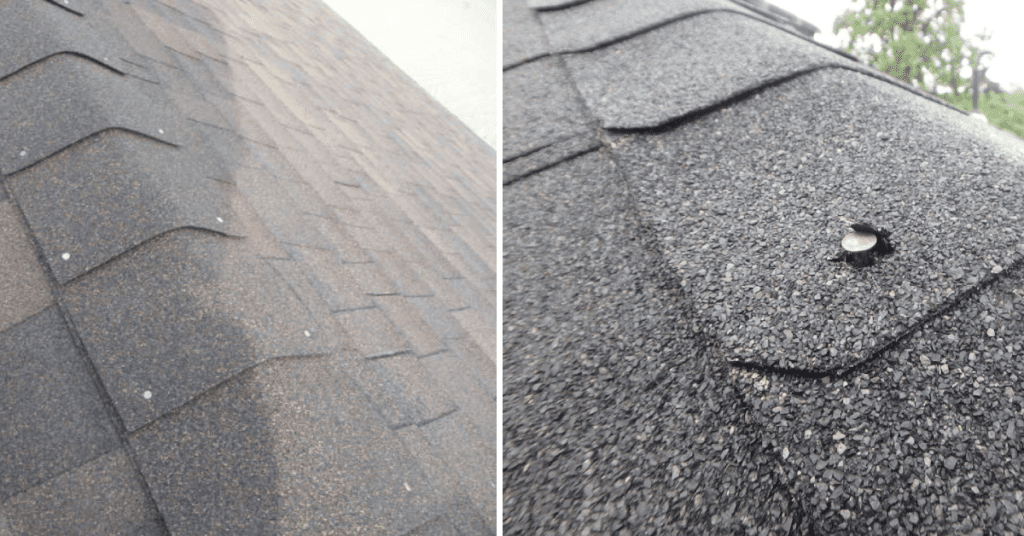
The first step in fixing exposed nails on your roof is to locate and identify them. This can be done by carefully inspecting your roof for any visible nails that have popped out or are no longer flush with the roofing material.
It’s essential to note that not all exposed nails are a cause for concern. Some may be minor nail pops, which can easily be fixed, while others may indicate a more significant issue with your roof’s integrity. If you’re unsure, it’s best to consult a professional roofer for their expert opinion.
4 Easy Methods for Fixing Exposed Nails
Method 1: Using Roofing Cement
One of the easiest ways to fix exposed nails is by using roofing cement. This method works best for minor nail pops that haven’t caused significant damage to your roof. Here’s how to do it:
- Clean the area around the exposed nail with a putty knife.
- Apply a generous amount of roofing cement over and around the nail, ensuring that it’s completely covered.
- Use a caulk gun to apply additional cement, filling any gaps around the nail.
- Smooth out the cement with a putty knife and allow it to dry before adding a second coat for extra durability.
Method 2: Using Roofing Tar or Caulk
Another way to fix exposed nails is by using roofing tar or caulk. This method works best for minor nail pops and can be done quickly and easily with the following steps:
- Clean the area around the exposed nail with a putty knife.
- Apply a layer of roofing tar or caulk over and around the nail, ensuring that it’s completely covered.
- Smooth out the tar or caulk with a putty knife, filling any gaps around the nail.
- Allow it to dry before adding another layer for added strength and protection.
Method 3: Using a Nail Gun
For more significant nail pops or loose nails, using a nail gun may be necessary. This method provides a more secure and long-lasting fix for exposed nails. Here’s how to do it:
- Carefully remove the loose nail using a hammer or nail puller.
- Using a nail gun, drive a new roofing nail into the same spot, making sure it’s flush with the material and secure.
- Cover the head of the new nail with roofing cement or tar for added protection.
Method 4: Using Roofing Sealant Strips
Finally, another quick and easy way to fix exposed nails is by using roofing sealant strips. These adhesive strips are specifically designed for roof repairs and provide a strong and durable solution. Here’s how to use them:
- Clean the area around the exposed nail with a putty knife.
- Cut the sealant strip to fit over the nail.
- Peel off the backing and press the strip down firmly over and around the nail.
- Use a putty knife to smooth out any air bubbles or wrinkles in the sealant.
- Allow it to dry before adding a layer for extra protection.
Method 5: Using Roofing Screws or Nails
In some cases, the exposed nails may be too loose or damaged to use a traditional nail gun. In such instances, using roofing screws or nails may be the best solution. These fasteners are designed specifically for roofing and provide a strong and secure hold.
- Remove any damaged or loose nails using a hammer or nail puller.
- Using a screwdriver or nail gun, drive the new roofing screw or nail into place.
- Repeat until all exposed nails have been replaced with screws or nails.
Step-by-Step Guide for Each Fixing Method
To provide further guidance, here is a step-by-step guide for each of the five methods discussed above:
Method 1: Using Roofing Cement
- Clean the area around the exposed nail with a putty knife.
- Apply a generous amount of roofing cement over and around the nail, ensuring that it’s completely covered.
- Use a caulk gun to apply additional cement, filling any gaps around the nail.
- Smooth out the cement with a putty knife and allow it to dry before adding a second coat for extra durability.
Method 2: Using Roofing Tar or Caulk
- Clean the area around the exposed nail with a putty knife.
- Apply a layer of roofing tar or caulk over and around the nail, ensuring that it’s completely covered.
- Smooth out the tar or caulk with a putty knife, filling any gaps around the nail.
- Allow it to dry before adding another layer for added strength and protection.
Method 3: Using a Nail Gun
- Carefully remove the loose nail using a hammer or nail puller.
- Using a nail gun, drive a new roofing nail into the same spot, making sure it’s flush with the material and secure.
- Cover the head of the new nail with roofing cement or tar for added protection.
Method 4: Using Roofing Sealant Strips
- Clean the area around the exposed nail with a putty knife.
- Cut the sealant strip to fit over the nail.
- Peel off the backing and press the strip down firmly over and around the nail.
- Use a putty knife to smooth out any air bubbles or wrinkles in the sealant.
- Allow it to dry before adding a layer for extra protection.
Method 5: Using Roofing Screws or Nails
- Remove any damaged or loose nails using a hammer or nail puller.
- Using a screwdriver or nail gun, drive the new roofing screw or nail into place.
- Repeat until all exposed nails have been replaced with screws or nails.
Inspection and Quality Check
After using one of the above methods to fix your exposed nails, it’s essential to conduct a thorough inspection and quality check. This step ensures that the repair was successful and will provide long-lasting protection for your roof. Here are some things to look out for during your inspection:
- Are all exposed nails fixed and covered?
- Is there any additional damage or weakness around the repaired area?
- Is the repair secure and able to withstand weather conditions?
If you notice any issues during your inspection, it’s best to address them immediately before they cause further damage to your roof. It’s also a good idea to periodically check for exposed nails and make necessary repairs as needed to maintain the integrity of your roof.
Importance of Fixing Exposed Nails on Your Roof
Ignoring exposed nails on your roof can lead to significant damage and costly repairs in the future. Here are some reasons why it’s crucial to fix exposed nails promptly:
- Exposed nails can cause water leaks and damage to the interior of your home.
- They can also weaken the structure of your roof, leading to sagging or even collapse.
- Exposed nails are a sign of poor installation or maintenance and can indicate other underlying issues with your roof.
- Regularly checking for and fixing exposed nails can help prevent more extensive damage and prolong the lifespan of your roof.
Preventing Exposed Nails in the Future
To avoid dealing with exposed nails in the future, here are some preventive measures you can take:
- Regularly inspect your roof for any signs of damage or wear.
- Keep trees and branches trimmed to prevent them from rubbing against your roof and causing damage.
- Hire a professional roofing contractor for regular maintenance and repairs to ensure proper installation and care for your roof.
By taking these precautions, you can help prevent exposed nails and other potential issues with your roof.
FAQs on Repairing Exposed Nails on a Roof
Can I use regular nails to fix exposed nails on my roof?
No, regular nails are not suitable for roofing repairs. It’s essential to use roofing screws or nails specifically designed for this purpose.
How often should I check for exposed nails on my roof?
It’s recommended to do a visual inspection of your roof at least twice a year, preferably in the spring and fall. You should also check after any severe weather events or if you notice any changes to your roof’s appearance.
What are some signs that I may have exposed nails on my roof?
Some indications of exposed nails include curled or loose shingles, moisture stains on ceilings or walls, and visible nail heads on the surface of your roof.
Can I fix exposed nails myself, or should I hire a professional?
It’s best to hire a professional roofing contractor for any repairs involving exposed nails. They have the necessary experience and expertise to ensure the repair is done correctly and effectively.
Conclusion
In conclusion, exposed nails can be a serious issue when not taken into account. Luckily, understanding the dangers and tools needed to fix such problems is easy enough once you know what’s needed. From safety precautions and inspecting for any issues to fixing them with steps outlined in this post, anyone can take on this task in confidence and comfort.
Furthermore, by implementing preventative measures such as caulking around windows and doors after the installation of siding and trim, exposed nails won’t be a problem from the start. Let’s all work together to keep our homes safe from harm caused by nails that have been exposed to the elements for too long. So arm yourself with the knowledge in this article and feel confident finding your very own solutions for exposed nails today!


The subsequent time I read a blog, I hope that it doesnt disappoint me as much as this one. I mean, I know it was my choice to learn, however I actually thought youd have something interesting to say. All I hear is a bunch of whining about something that you can fix if you werent too busy searching for attention.