

How to Test an Air Conditioner Compressor
Have you already noticed the heat increasing in your house? You may need to inspect and test the air conditioner compressor of your home, which is an essential step in ensuring that you stay cool all summer long. But when it comes to inspecting and testing the compressor on any type of AC system, many homeowners don’t know where to start.
Thankfully, assessing a faulty or failing AC compressor does not need to be a complicated task if you’re equipped with basic troubleshooting skills and have access to the right tools. In this blog post, we’ll walk you through some easy-to-follow steps that will help make testing your Air Conditioner Compressor a quick and simple procedure!
Understanding the Air Conditioner Compressor
Before we delve into the steps for testing your AC compressor, it’s essential to have a basic understanding of what an air conditioner compressor is and how it works. The compressor is the heart of any AC system and functions by compressing refrigerant gas, which then flows into the condenser where it cools down and turns back into a liquid. This compressed liquid then travels through the evaporator coil and absorbs heat from the air, which is then circulated back into your home as cool air. Without a functioning compressor, your AC system will not be able to cool your home effectively.
Tools and Equipment Needed
To properly test an air conditioner compressor, you’ll need a few basic tools and equipment. These include:
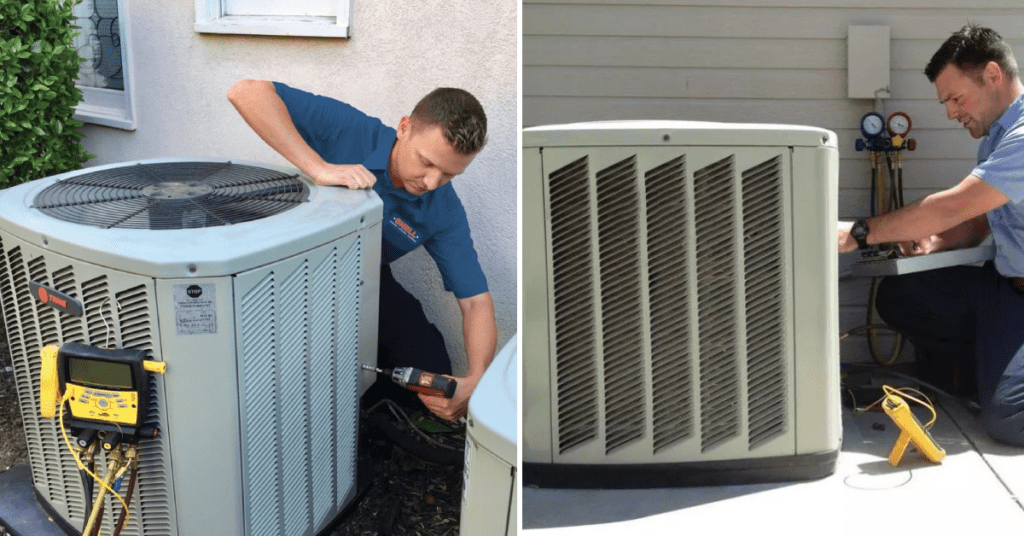
- A multimeter to measure voltage and continuity.
- Screw drivers for removing panel covers.
- A set of Allen wrenches for loosening and tightening bolts.
- Safety glasses to protect your eyes during the testing process.
Safety Precautions
Before you begin testing your air conditioner compressor, it’s crucial to take a few safety precautions to protect yourself and prevent any accidents. These include:
- Disconnecting the power supply to your AC unit.
- Wear safety glasses to protect your eyes from any debris or sparks.
- Make sure that all electrical parts are properly grounded.
- Following manufacturer instructions for handling refrigerant gas.
- Check for any signs of damage or wear on the compressor parts before testing.
Preparation Before Testing
Once you’ve gathered all the necessary tools and equipment and taken the required safety precautions, it’s time to prepare your AC unit for testing. Here are a few steps you should follow:
- Inspect the outdoor compressor unit for any visible damage, such as dents or leaks.
- Turn off the power supply to your AC system by switching off the circuit breaker.
- Remove the panel cover from the outdoor unit to access the compressor and other electrical components.
- Make sure your AC system has been turned off for at least 30 minutes before starting to test.
5 Easy Step-by-step Guide to Testing the Air Conditioner Compressor
Step 1: Visual Inspection
The first step in testing your air conditioner compressor is performing a visual inspection. This will help you identify any obvious signs of damage or wear that could be causing issues with the compressor. Here’s what you should look for:
- Physical damage such as dents, cracks, or leaks on the compressor and other components.
- Discoloration or burnt marks on electrical connectors. This could indicate an electrical issue.
- The buildup of debris or dirt in the outdoor unit, can clog the compressor and reduce its efficiency.
If you notice any visible damage during your visual inspection, it’s best to call a professional technician for further assistance. They will be able to accurately diagnose the problem and perform any necessary repairs or replacements.
Step 2: Electrical Testing
Once you’ve completed the visual inspection, it’s time to move on to electrical testing. This will help determine if there are any issues with the electrical components of your AC system that could be causing problems with the compressor. Here’s what you should do:
- Using a multimeter, check the voltage going into and coming out of the compressor.
- If there is no voltage coming out of the compressor, check the electrical connections for any signs of damage or loose wires.
- Test the continuity between different electrical components, such as the capacitor and contactor to ensure proper functioning.
If you notice any issues with voltage or continuity, it’s best to call a professional technician for further assistance.
Step 3: Refrigerant Pressure Testing
To properly test your air conditioner compressor, it’s crucial to check the refrigerant pressures. Insufficient refrigerant levels can strain the compressor, leading to potential damage and issues. Here’s a step-by-step guide:
- Attach a pressure gauge to the low side of your AC system.
- Turn on the AC unit and allow it to run for a minimum of 10 minutes for pressure stabilization.
- Compare the pressure reading with the manufacturer’s recommended levels. If the pressure is too high or low, it may indicate a leak or another problem that requires professional attention.
By following these steps, you can ensure optimal performance and longevity of your air conditioning system.
Step 4: Compressor Motor Testing
To ensure the proper functioning of your air conditioner compressor, it is crucial to inspect the motor. A faulty motor can cause significant issues, potentially leading to a complete breakdown of your AC system. Follow these steps for a thorough examination:
- Gently remove the electrical cover from the compressor.
- Utilize a multimeter to test the continuity between each wire connected to the compressor motor. If there is no continuity, it may indicate a damaged motor that requires replacement.
- Examine the motor windings closely for any visible signs of damage, such as burns or breaks.
- Before inspecting the motor, ensure the compressor has been turned off for at least 30 minutes to avoid any potential electrical hazards.
By following these steps, you can effectively assess the motor’s condition and address any issues promptly.
Step 5: Running and Listening Tests
Lastly, it can be beneficial to run your air conditioner while paying close attention to its performance. This step provides valuable insights into the functionality of the compressor and helps identify any irregular noises or vibrations that may indicate a problem. Here are some key aspects to consider:
- Listen for any rattling, grinding, or squeaking sounds emanating from the compressor.
- Observe the unit for excessive vibrations or shaking, as these could be indications of a damaged compressor.
By conducting this running and listening test, you can proactively detect any potential issues early on, thus avoiding costly repairs in the future.
Interpreting Test Results
After completing all the necessary tests, it’s essential to interpret and analyze the results accurately. If you notice any issues during the testing process, such as low refrigerant levels or a faulty motor, it’s best to call a professional technician for further assistance. They will be able to provide expert guidance on how to proceed with repairs or replacements.
However, if all test results appear normal, it indicates that your air conditioner compressor is functioning correctly. Congratulations on conducting a thorough and successful testing process! Remember to regularly maintain and inspect your AC system to ensure optimal performance and avoid any potential breakdowns in the future..
Maintenance Tips for Air Conditioner Compressors
After successfully testing your air conditioner compressor, it’s crucial to maintain it properly to ensure efficient and long-lasting performance. Here are some maintenance tips to keep in mind:
- Regularly clean the outdoor unit and remove any debris or dirt buildup around the compressor.
- Replace the air filters every 1-3 months to prevent clogging and strain on the compressor.
- Schedule annual professional maintenance check-ups to ensure all components are functioning correctly and detect any potential issues early on.
By following these maintenance tips, you can extend the lifespan of your air conditioner compressor and avoid costly repairs or replacements in the future. Remember, proper care is essential for keeping your AC system running smoothly for years to come. So, don’t forget to give your compressor the attention it deserves! Keep your space cool and comfortable with a well-maintained air conditioner, and enjoy a refreshing summer season ahead.
FAQs on How to Test an Air Conditioner Compressor
Why is it important to test an air conditioner compressor?
Testing an air conditioner compressor is important because it helps to ensure that the compressor is functioning properly and efficiently. A faulty compressor can lead to poor cooling performance, increased energy consumption, and even system failure.
Can I test my air conditioner compressor on my own?
While it is possible to test your air conditioner compressor on your own, it is recommended to hire a professional for accurate testing and maintenance.
Conclusion
Testing an air conditioner compressor can be daunting and even hazardous. It’s crucial to have the proper training, tools, and safety measures in place before attempting any repairs or maintenance. Familiarize yourself with refrigerant pressure testing, electrical testing, visual inspections, running tests, listening tests, and interpreting results. Following these steps will ensure the safety of your refrigerator and guarantee that any repairs are done accurately. Remember, it’s always advisable to seek professional assistance when needed. Take the time to understand air conditioner compressors now, so that diagnosing problems or performing maintenance in the future becomes easier. However, when working with commercial-sized equipment, always remember that doing a great job comes with great responsibility.


